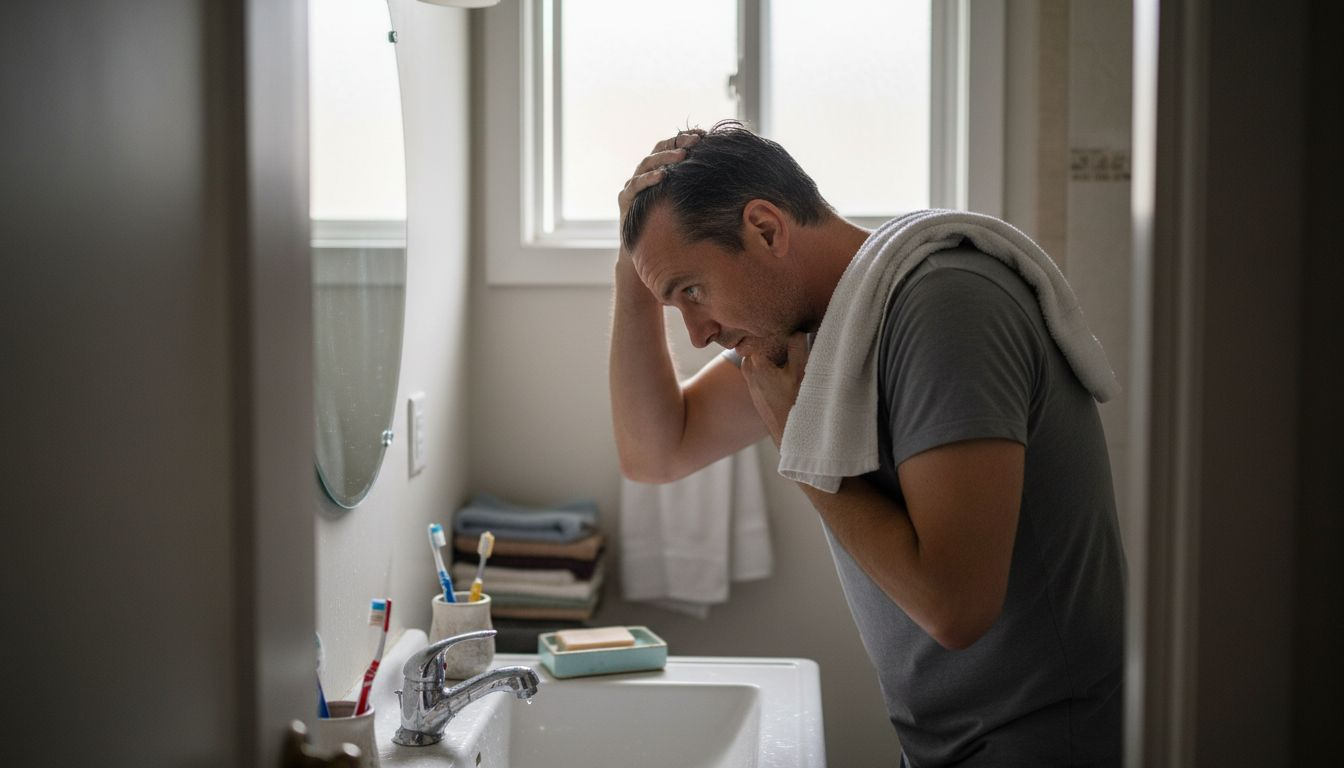
Step by Step Red Light for Hair Growth at Home

Choosing the right technology can feel overwhelming when the stakes are high and hair thinning is front and center. For those drawn to modern solutions, red light therapy offers a non-invasive, scientifically grounded path forward. By focusing on the clinically proven wavelength range of 630 to 680 nanometers and prioritizing devices with even scalp coverage, you position yourself for better results and fewer wasted efforts. This guide walks you through practical steps, helping you pinpoint what actually works in the crowded world of beauty tech.
Table of Contents
- Step 1: Choose the Right Red Light Device
- Step 2: Prepare Your Scalp for Treatment
- Step 3: Operate the Device for Optimal Exposure
- Step 4: Track Results and Adjust Routine
Quick Summary
| Key Point | Explanation |
|---|---|
| 1. Choose the Right Wavelength | Select red light devices emitting wavelengths between 630 and 680 nanometers for optimal hair growth. |
| 2. Ensure Full Scalp Coverage | Use devices with multiple diodes to avoid uneven results and ensure comprehensive treatment. |
| 3. Follow a Consistent Routine | Stick to a regular schedule for your sessions; consistency is critical for effective results. |
| 4. Prepare Your Scalp Properly | Clean and dry your scalp before treatment to enhance light penetration and efficacy. |
| 5. Track and Adjust for Best Results | Monitor your progress with photos and logs, and make one change at a time to improve outcomes. |
Step 1: Choose the Right Red Light Device
You're standing at the crossroads of multiple device options, and picking the wrong one can derail your entire hair growth plan. The good news? Knowing what to look for takes just a few minutes, and it'll save you months of wasted effort.
Start by checking the wavelength specifications. Your device needs to emit clinically proven wavelengths for hair between 630 and 680 nanometers—this is the sweet spot where light penetrates your scalp effectively without being absorbed or scattered. Anything outside this range won't deliver the results you're after.
Next, evaluate scalp coverage. A device with multiple laser diodes or LEDs distributes light evenly across your entire scalp, ensuring no patches get missed. This matters more than you'd think—uneven coverage leads to uneven results.
Device type shapes how you'll actually use it. You've got three main formats:
Here's a comparison of the main red light device types to help you choose what's best for your routine:
| Device Type | Coverage | User Convenience | Ideal For |
|---|---|---|---|
| Helmet-style | Full scalp | Hands-free, multitasking | Busy home users |
| Cap-style | Moderate coverage | Portable, low profile | Travelers, minimalists |
| Handheld | Targeted sections | Requires manual use | Spot treatments, precision |
- Helmet-style devices offer the most comprehensive coverage and work hands-free during your treatment time
- Cap designs provide solid coverage while staying compact and portable
- Handheld tools give you precision targeting but require active use during sessions
For most people doing home therapy, helmet-style devices win because they deliver even coverage and let you multitask.
Don't skip the safety certifications. Look for FDA clearance or equivalent regulatory approval—this tells you the device has been tested for both efficacy and safety. It's not a guarantee of results, but it's a solid baseline.
Finally, consider practical convenience. Short treatment times (typically 15-30 minutes) and hands-free operation mean you'll actually stick with your routine. Life gets busy. A device that fits your schedule beats a "perfect" one you abandon after three weeks.
The most effective device is the one you'll use consistently. Wavelength matters, but adherence wins.
Pro tip: Before buying, check the manufacturer's treatment protocol—how many minutes per session and how many sessions per week? If it requires 45-minute sessions daily, reconsider unless you genuinely have that time available.
Step 2: Prepare Your Scalp for Treatment
Your scalp condition directly impacts how well red light therapy works. Think of it like preparing soil before planting seeds—the better your foundation, the better your results will be.
Start with a thorough cleanse two to three hours before your first session. Use a gentle shampoo to remove dirt, oil buildup, and product residue that could interfere with light penetration. Don't overscrub your scalp though; you're cleaning, not irritating.
After shampooing, pat your scalp dry completely. Moisture can scatter light and reduce effectiveness. A completely dry scalp ensures the red and near-infrared wavelengths penetrate efficiently to reach hair follicles.
Next, check your scalp for any active irritations or conditions that might affect treatment:
- Open wounds or cuts should heal before starting therapy
- Significant dandruff or flaking may need attention first
- Fungal infections require medical consultation before beginning
- Sunburned or severely irritated scalp should wait a few days
If you've been using medicated shampoos or scalp treatments, continue them unless your device manufacturer advises otherwise. Red light therapy typically complements existing routines rather than replacing them.
Remove any metal accessories, jewelry, or clips from your hair and scalp area. Metal can reflect light and create uneven exposure. Your scalp should be completely bare and accessible to your device.
A clean, dry, irritation-free scalp is your starting point for successful light therapy results.
Pro tip: Establish a consistent pre-treatment routine at the same time each day—this builds habit momentum and ensures your scalp is always in optimal condition when you use your device.
Step 3: Operate the Device for Optimal Exposure
Now comes the actual treatment. Getting this right means understanding positioning, timing, and consistency—three factors that directly determine whether you'll see real hair growth results.
Start by positioning your device correctly. Whether you're using a helmet, cap, or handheld unit, the emitted light must cover your entire scalp evenly. Uneven placement leaves gaps where hair follicles miss treatment entirely. If you're using a handheld device, move it slowly across different scalp sections to ensure comprehensive coverage.
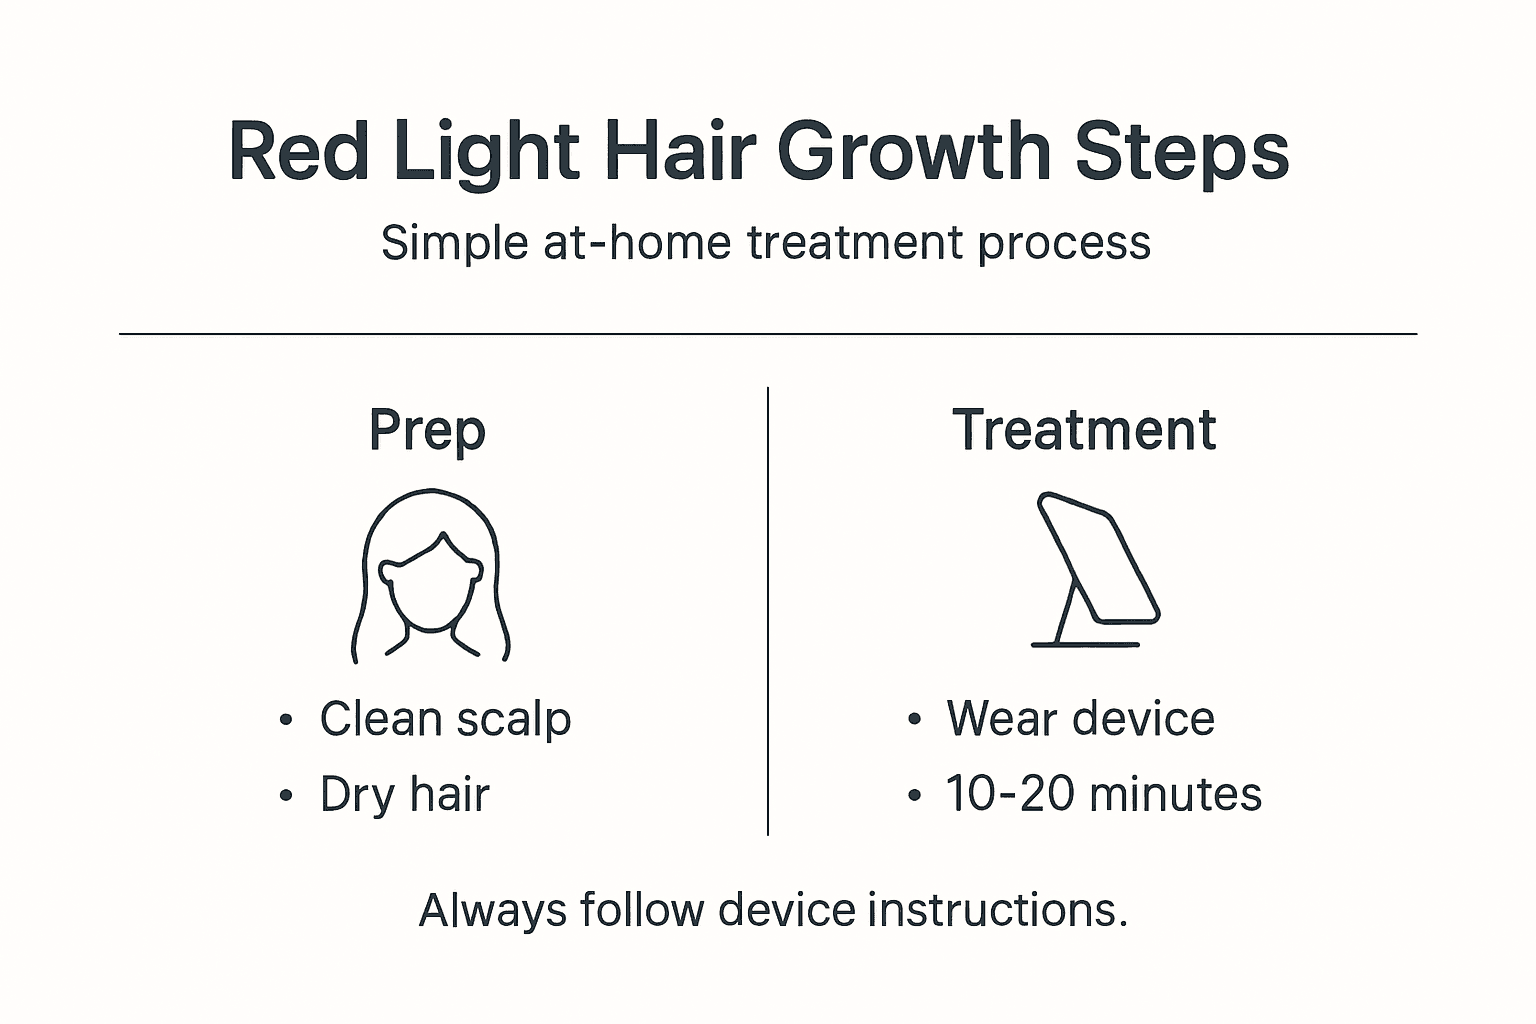
Consult your manufacturer's instructions for the exact distance and duration specifications. Red light therapy device sessions typically run between 10 and 20 minutes, repeated several times per week. These parameters exist for a reason—they've been tested to balance efficacy with safety.
Consistency matters more than intensity. Here's what an effective routine looks like:
- Schedule treatment sessions at the same time each day or on alternating days
- Complete your full prescribed duration without interruption
- Keep a simple log to track when you use your device
- Avoid skipping more than one day in a row during your treatment window
One critical detail: minimize competing light sources during your session. Bright overhead lights, windows, or phone screens can interfere with your device's effectiveness. Dim the room slightly and focus on the treatment without distractions.
Hands-free designs shine here. If your device allows multitasking, use the time productively—read, work, or listen to audiobooks. Treatment becomes part of your routine rather than an interruption.
Consistency beats perfection. A realistic routine you'll maintain beats an ideal one you'll abandon.
Pro tip: Set a phone reminder 15 minutes before your scheduled session time—this prevents missed treatments and helps lock the habit into your daily rhythm.
Step 4: Track Results and Adjust Routine
You've been consistent with treatment for weeks. Now it's time to measure what's actually happening and make informed adjustments based on real data rather than guesswork.
Document your baseline before you continue further. Take clear photos of your scalp from multiple angles under consistent lighting conditions. Focus on areas where you've noticed thinning. These become your comparison point for tracking progress over time.
Create a simple tracking system that works for your lifestyle. You don't need anything complicated:
For easy reference, here's an overview of result tracking methods and their benefits:
| Tracking Method | Purpose | Benefit |
|---|---|---|
| Weekly scalp photos | Visual progress monitoring | Identifies subtle changes |
| Hair texture observation | Detects quality improvements | Explores hair health |
| Session adherence logs | Tracks treatment frequency | Boosts routine consistency |
- Weekly photos taken on the same day under identical conditions
- Notes about hair shedding (more, less, or unchanged)
- Observations about hair texture and thickness
- Any scalp irritation or side effects
- Adherence percentage (how many sessions you completed versus planned)
Most people see noticeable changes between 8 and 16 weeks of consistent treatment. Hair growth cycles are slow, so patience is non-negotiable. Expecting results in two weeks will only frustrate you.
After your first month, review your adherence first. Did you stick to your schedule? If you missed sessions regularly, that's your adjustment priority, not changing device settings. Consistency compounds over time.
If you've been perfectly consistent and something feels off, adjust one variable at a time. Change your treatment duration by 5 minutes or add one extra session weekly, then wait two weeks before assessing. Multiple simultaneous changes make it impossible to know what actually helped.
Real results take time. Track progress in months, not weeks.
Pro tip: Create a calendar on your phone or wall where you mark each completed session with a check mark—visual progress toward your goal builds momentum even before hair growth becomes visible.
Unlock Your Best Hair Growth Routine with Advanced Red Light Therapy
Choosing the right red light device and maintaining consistent treatment is crucial for effective hair growth at home. If you have struggled with uneven scalp coverage, inconvenient treatment sessions, or uncertainty about device safety and wavelengths, you are not alone. FysionX offers professional-grade, user-friendly red light therapy products designed to fit seamlessly into your daily self-care routine, helping you achieve real hair thickening results without invasive treatments.

Explore our diverse range of red light therapy devices including helmets, handheld units, and hair brushes that deliver the exact wavelengths recommended for optimal hair follicle stimulation. With our customer-validated products, discounted pricing, and free shipping options, you can start your consistent, hands-free therapy confidently today. Visit FysionX to find your ideal red light device and take the next step toward healthier, fuller hair. Act now and make your hair growth journey simple and effective.
Frequently Asked Questions
How do I choose the right red light device for hair growth at home?
To choose the right red light device, look for wavelengths between 630 and 680 nanometers, which are effective for hair growth. Evaluate the device's scalp coverage and select one that fits your lifestyle, such as helmet, cap, or handheld options.
What should I do to prepare my scalp before using red light therapy?
Before your session, cleanse your scalp with a gentle shampoo to remove debris and oils. Ensure your scalp is completely dry and free from irritations, as a clear, clean surface maximizes light penetration.
How long should each red light therapy session last?
Each session should typically last between 10 to 20 minutes, depending on your device's guidelines. Schedule sessions 3 to 5 times per week for optimal results over time.
How can I track my progress during red light therapy treatments?
Document your progress by taking weekly photos of your scalp in consistent lighting to monitor changes. Additionally, maintain a log noting your treatment adherence and any observations about hair shedding or texture improvements.
What should I do if I don't see results from red light therapy?
If you don't see results, first review your adherence to the treatment schedule to ensure consistency. If you're committed and still not seeing change, consider adjusting your treatment duration or frequency, waiting at least two weeks to assess any improvements.
Is it necessary to have a completely clear scalp for red light therapy?
Yes, a clear scalp is essential for effective treatment, as any irritations or products can diminish light penetration. Remove any metal accessories, and ensure your scalp is clean and dry before starting your sessions.